
Page 40 - Amphibionics : Build Your Own Biologically Inspired Robot
P. 40
Amphibionics 02 3/24/03 8:08 AM Page 19
Chapter 2 / Printed Circuit Board Fabrication
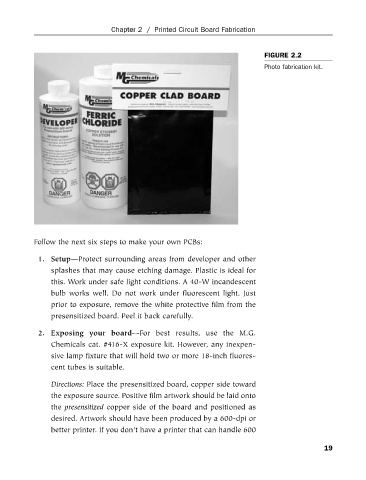
Photo fabrication kit.
Follow the next six steps to make your own PCBs: FIGURE 2.2
1. Setup—Protect surrounding areas from developer and other
splashes that may cause etching damage. Plastic is ideal for
this. Work under safe light conditions. A 40-W incandescent
bulb works well. Do not work under fluorescent light. Just
prior to exposure, remove the white protective film from the
presensitized board. Peel it back carefully.
2. Exposing your board—For best results, use the M.G.
Chemicals cat. #416-X exposure kit. However, any inexpen-
sive lamp fixture that will hold two or more 18-inch fluores-
cent tubes is suitable.
Directions: Place the presensitized board, copper side toward
the exposure source. Positive film artwork should be laid onto
the presensitized copper side of the board and positioned as
desired. Artwork should have been produced by a 600-dpi or
better printer. If you don’t have a printer that can handle 600
19