
Page 163 - Hacking Roomba
P. 163
144 Part II — Fun Things to Do
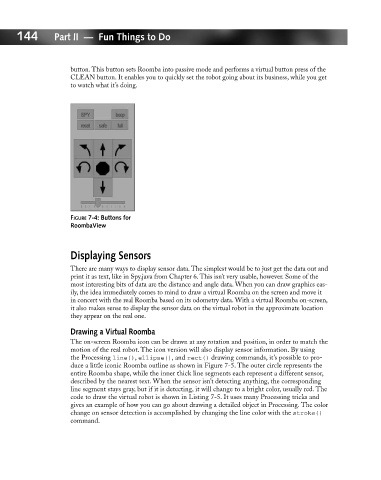
button. This button sets Roomba into passive mode and performs a virtual button press of the
CLEAN button. It enables you to quickly set the robot going about its business, while you get
to watch what it’s doing.
FIGURE 7-4: Buttons for
RoombaView
Displaying Sensors
There are many ways to display sensor data. The simplest would be to just get the data out and
print it as text, like in Spy.java from Chapter 6. This isn’t very usable, however. Some of the
most interesting bits of data are the distance and angle data. When you can draw graphics eas-
ily, the idea immediately comes to mind to draw a virtual Roomba on the screen and move it
in concert with the real Roomba based on its odometry data. With a virtual Roomba on-screen,
it also makes sense to display the sensor data on the virtual robot in the approximate location
they appear on the real one.
Drawing a Virtual Roomba
The on-screen Roomba icon can be drawn at any rotation and position, in order to match the
motion of the real robot. The icon version will also display sensor information. By using
the Processing line(), ellipse(), and rect() drawing commands, it’s possible to pro-
duce a little iconic Roomba outline as shown in Figure 7-5. The outer circle represents the
entire Roomba shape, while the inner thick line segments each represent a different sensor,
described by the nearest text. When the sensor isn’t detecting anything, the corresponding
line segment stays gray, but if it is detecting, it will change to a bright color, usually red. The
code to draw the virtual robot is shown in Listing 7-5. It uses many Processing tricks and
gives an example of how you can go about drawing a detailed object in Processing. The color
change on sensor detection is accomplished by changing the line color with the stroke()
command.