
Page 306 - Making things move_ DIY mechanisms for inventors, hobbyists, and artists
P. 306
Chapter 10 Projects 283
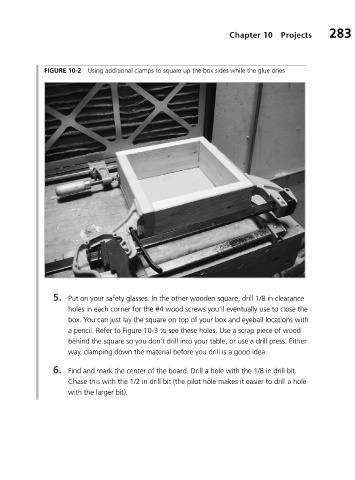
FIGURE 10-2 Using additional clamps to square up the box sides while the glue dries
5. Put on your safety glasses. In the other wooden square, drill 1/8 in clearance
holes in each corner for the #4 wood screws you’ll eventually use to close the
box. You can just lay the square on top of your box and eyeball locations with
a pencil. Refer to Figure 10-3 to see these holes. Use a scrap piece of wood
behind the square so you don’t drill into your table, or use a drill press. Either
way, clamping down the material before you drill is a good idea.
6. Find and mark the center of the board. Drill a hole with the 1/8 in drill bit.
Chase this with the 1/2 in drill bit (the pilot hole makes it easier to drill a hole
with the larger bit).