
Page 339 - Making things move_ DIY mechanisms for inventors, hobbyists, and artists
P. 339
316 Making Things Move
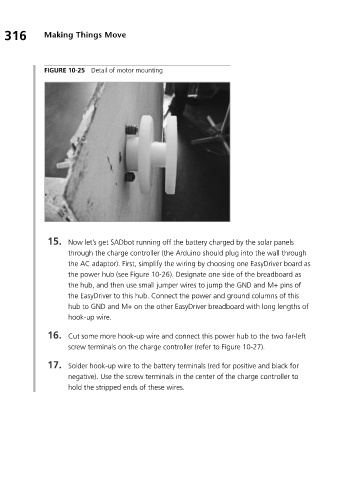
FIGURE 10-25 Detail of motor mounting
15. Now let’s get SADbot running off the battery charged by the solar panels
through the charge controller (the Arduino should plug into the wall through
the AC adaptor). First, simplify the wiring by choosing one EasyDriver board as
the power hub (see Figure 10-26). Designate one side of the breadboard as
the hub, and then use small jumper wires to jump the GND and M+ pins of
the EasyDriver to this hub. Connect the power and ground columns of this
hub to GND and M+ on the other EasyDriver breadboard with long lengths of
hook-up wire.
16. Cut some more hook-up wire and connect this power hub to the two far-left
screw terminals on the charge controller (refer to Figure 10-27).
17. Solder hook-up wire to the battery terminals (red for positive and black for
negative). Use the screw terminals in the center of the charge controller to
hold the stripped ends of these wires.