
Page 329 - Robots Androids and Animatrons : 12 Incredible Projects You Can Build
P. 329
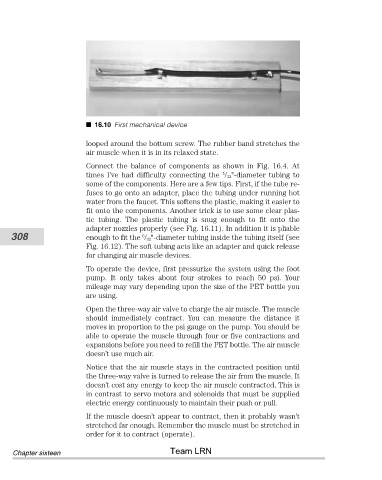
16.10 First mechanical device

                                looped around the bottom screw. The rubber band stretches the
                                air muscle when it is in its relaxed state.
                                Connect  the  balance  of  components  as  shown  in  Fig.  16.4.  At
                                                                      5
                                times I’ve had difficulty connecting the  / 32"-diameter tubing to
                                some of the components. Here are a few tips. First, if the tube re-
                                fuses to go onto an adapter, place the tubing under running hot
                                water from the faucet. This softens the plastic, making it easier to
                                fit onto the components. Another trick is to use some clear plas-
                                tic  tubing.  The  plastic  tubing  is  snug  enough  to  fit  onto  the
                                adapter nozzles properly (see Fig. 16.11). In addition it is pliable
           308                  enough to fit the  / 32"-diameter tubing inside the tubing itself (see
                                                5
                                Fig. 16.12). The soft tubing acts like an adapter and quick release
                                for changing air muscle devices.

                                To operate the device, first pressurize the system using the foot
                                pump.  It  only  takes  about  four  strokes  to  reach  50  psi.  Your
                                mileage may vary depending upon the size of the PET bottle you
                                are using.
                                Open the three-way air valve to charge the air muscle. The muscle
                                should  immediately  contract.  You  can  measure  the  distance  it
                                moves in proportion to the psi gauge on the pump. You should be
                                able to operate the muscle through four or five contractions and
                                expansions before you need to refill the PET bottle. The air muscle
                                doesn’t use much air.
                                Notice that the air muscle stays in the contracted position until
                                the three-way valve is turned to release the air from the muscle. It
                                doesn’t cost any energy to keep the air muscle contracted. This is
                                in contrast to servo motors and solenoids that must be supplied
                                electric energy continuously to maintain their push or pull.
                                If the muscle doesn’t appear to contract, then it probably wasn’t
                                stretched far enough. Remember the muscle must be stretched in
                                order for it to contract (operate).
                                                       Team LRN
            Chapter sixteen