
Page 336 - Robots Androids and Animatrons : 12 Incredible Projects You Can Build
P. 336
16.18 Opposite side of arm, where screws are removed
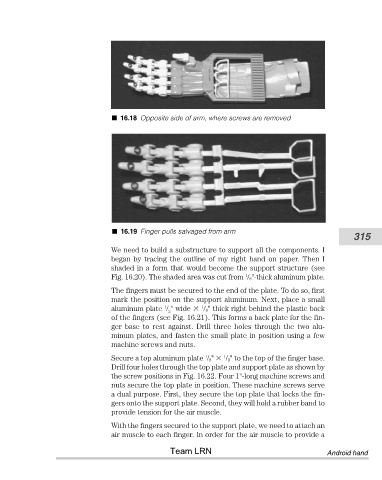
16.19 Finger pulls salvaged from arm
315
We need to build a substructure to support all the components. I
began by tracing the outline of my right hand on paper. Then I
shaded in a form that would become the support structure (see
1
Fig. 16.20). The shaded area was cut from / 8"-thick aluminum plate.
The fingers must be secured to the end of the plate. To do so, first
mark the position on the support aluminum. Next, place a small
1
1
aluminum plate / " wide / 8" thick right behind the plastic back
2
of the fingers (see Fig. 16.21). This forms a back plate for the fin-
ger base to rest against. Drill three holes through the two alu-
minum plates, and fasten the small plate in position using a few
machine screws and nuts.
Secure a top aluminum plate / 8" / 2" to the top of the finger base.
1
1
Drill four holes through the top plate and support plate as shown by
the screw positions in Fig. 16.22. Four 1"-long machine screws and
nuts secure the top plate in position. These machine screws serve
a dual purpose. First, they secure the top plate that locks the fin-
gers onto the support plate. Second, they will hold a rubber band to
provide tension for the air muscle.
With the fingers secured to the support plate, we need to attach an
air muscle to each finger. In order for the air muscle to provide a
Team LRN Android hand