
Page 317 - ARM Based Microcontroller Projects Using MBED
P. 317
10.5 PROJECT 4—CALCULATOR USING A KEYPAD 303
FIG. 10.21, CONT’D
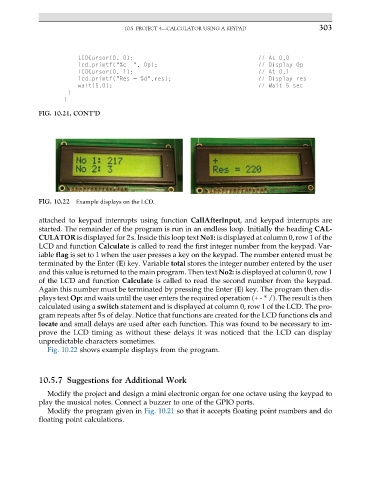
FIG. 10.22 Example displays on the LCD.
attached to keypad interrupts using function CallAfterInput, and keypad interrupts are
started. The remainder of the program is run in an endless loop. Initially the heading CAL-
CULATOR is displayed for 2s. Inside this loop text No1: is displayed at column 0, row 1 of the
LCD and function Calculate is called to read the first integer number from the keypad. Var-
iable flag is set to 1 when the user presses a key on the keypad. The number entered must be
terminated by the Enter (E) key. Variable total stores the integer number entered by the user
and this value is returned to the main program. Then text No2: is displayed at column 0, row 1
of the LCD and function Calculate is called to read the second number from the keypad.
Again this number must be terminated by pressing the Enter (E) key. The program then dis-
plays text Op: and waits until the user enters the required operation (+ - * /). The result is then
calculated using a switch statement and is displayed at column 0, row 1 of the LCD. The pro-
gram repeats after 5s of delay. Notice that functions are created for the LCD functions cls and
locate and small delays are used after each function. This was found to be necessary to im-
prove the LCD timing as without these delays it was noticed that the LCD can display
unpredictable characters sometimes.
Fig. 10.22 shows example displays from the program.
10.5.7 Suggestions for Additional Work
Modify the project and design a mini electronic organ for one octave using the keypad to
play the musical notes. Connect a buzzer to one of the GPIO ports.
Modify the program given in Fig. 10.21 so that it accepts floating point numbers and do
floating point calculations.