
Page 35 - Build a Remote Controlled Robot
P. 35
2
CHAPTER ONE
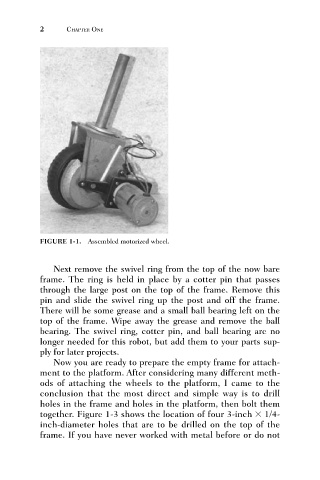
FIGURE 1-1. Assembled motorized wheel.
Next remove the swivel ring from the top of the now bare
frame. The ring is held in place by a cotter pin that passes
through the large post on the top of the frame. Remove this
pin and slide the swivel ring up the post and off the frame.
There will be some grease and a small ball bearing left on the
top of the frame. Wipe away the grease and remove the ball
bearing. The swivel ring, cotter pin, and ball bearing are no
longer needed for this robot, but add them to your parts sup-
ply for later projects.
Now you are ready to prepare the empty frame for attach-
ment to the platform. After considering many different meth-
ods of attaching the wheels to the platform, I came to the
conclusion that the most direct and simple way is to drill
holes in the frame and holes in the platform, then bolt them
together. Figure 1-3 shows the location of four 3-inch 1/4-
inch-diameter holes that are to be drilled on the top of the
frame. If you have never worked with metal before or do not