
Page 37 - Build a Remote Controlled Robot
P. 37
4
CHAPTER ONE
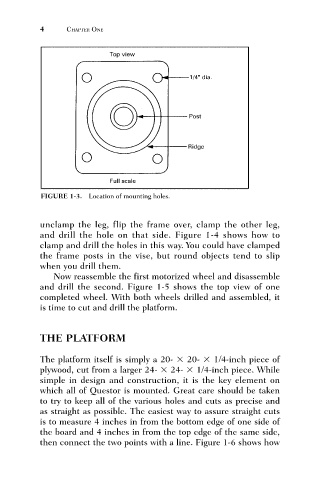
FIGURE 1-3. Location of mounting holes.
unclamp the leg, flip the frame over, clamp the other leg,
and drill the hole on that side. Figure 1-4 shows how to
clamp and drill the holes in this way. You could have clamped
the frame posts in the vise, but round objects tend to slip
when you drill them.
Now reassemble the first motorized wheel and disassemble
and drill the second. Figure 1-5 shows the top view of one
completed wheel. With both wheels drilled and assembled, it
is time to cut and drill the platform.
THE PLATFORM
The platform itself is simply a 20- 20- 1/4-inch piece of
plywood, cut from a larger 24- 24- 1/4-inch piece. While
simple in design and construction, it is the key element on
which all of Questor is mounted. Great care should be taken
to try to keep all of the various holes and cuts as precise and
as straight as possible. The easiest way to assure straight cuts
is to measure 4 inches in from the bottom edge of one side of
the board and 4 inches in from the top edge of the same side,
then connect the two points with a line. Figure 1-6 shows how