
Page 41 - Build a Remote Controlled Robot
P. 41
8
CHAPTER ONE
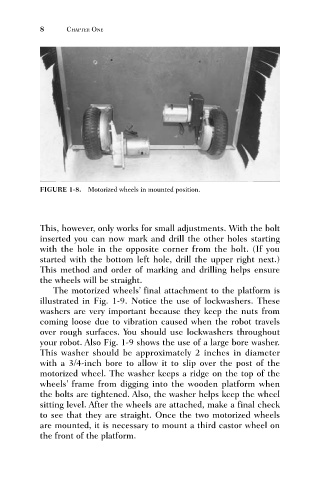
FIGURE 1-8. Motorized wheels in mounted position.
This, however, only works for small adjustments. With the bolt
inserted you can now mark and drill the other holes starting
with the hole in the opposite corner from the bolt. (If you
started with the bottom left hole, drill the upper right next.)
This method and order of marking and drilling helps ensure
the wheels will be straight.
The motorized wheels’ final attachment to the platform is
illustrated in Fig. 1-9. Notice the use of lockwashers. These
washers are very important because they keep the nuts from
coming loose due to vibration caused when the robot travels
over rough surfaces. You should use lockwashers throughout
your robot. Also Fig. 1-9 shows the use of a large bore washer.
This washer should be approximately 2 inches in diameter
with a 3/4-inch bore to allow it to slip over the post of the
motorized wheel. The washer keeps a ridge on the top of the
wheels’ frame from digging into the wooden platform when
the bolts are tightened. Also, the washer helps keep the wheel
sitting level. After the wheels are attached, make a final check
to see that they are straight. Once the two motorized wheels
are mounted, it is necessary to mount a third castor wheel on
the front of the platform.