
Page 105 - CNC Robotics
P. 105
CNC Robotics
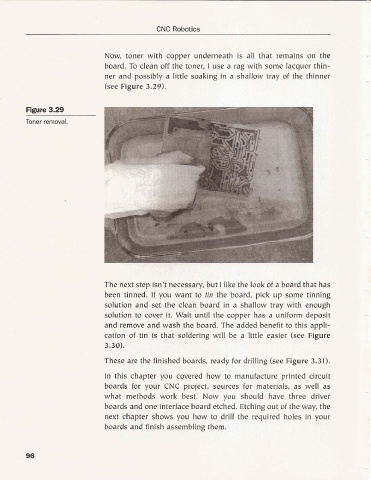
Now, to ner with coppe r underneat h is all that rema ins on the
board. To clean off the toner, I use a rag with some lacquer thin-
ner and possibly a little soaking in a shallow tray of the thinner
(see Figure 3.29).
Figure 3.29
Toner removal.
The next step isn't necessa ry, but I like the look of a board that has
been tinned. If you wa nt to tin the board, pick up some tin ning
solution a nd set the clea n board in a shallow tray with eno ugh
solut ion to cove r it. Wa it until th e copper has a uniform deposit
an d remove and wash the board. The added benefit to this appli-
cat ion of tin is that so ldering will be a little easier (see Figu re
3.30).
These a re the finished boa rds, ready for drilli ng (see Figure 3.31).
In this chapte r you cove red how to manufacture printed circuit
boa rds for yo ur CNC project, so urces for materials, as well as
what methods wo rk best. Now yo u should have three driver
boards an d one interface boa rd etched. Etching out of the way, the
next ch apter shows you how to drill the req uired holes in your
boa rds a nd finish assembling th em.
96