
Page 267 - Excel Progamming Weekend Crash Course
P. 267
n540629 ch19.qxd 9/2/03 9:35 AM Page 242
242 Saturday Evening
To place a control on the form, click the control’s icon in the toolbox; then drag the
icon onto the form to place the control.
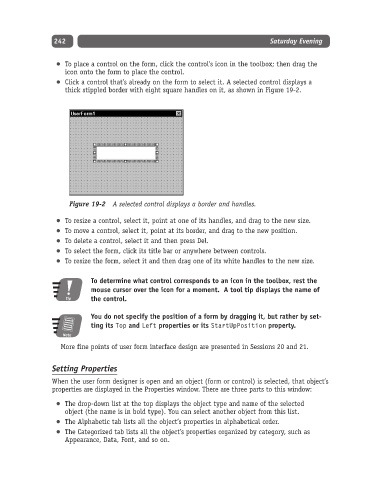
Click a control that’s already on the form to select it. A selected control displays a
thick stippled border with eight square handles on it, as shown in Figure 19-2.
Figure 19-2 A selected control displays a border and handles.
To resize a control, select it, point at one of its handles, and drag to the new size.
To move a control, select it, point at its border, and drag to the new position.
To delete a control, select it and then press Del.
To select the form, click its title bar or anywhere between controls.
To resize the form, select it and then drag one of its white handles to the new size.
To determine what control corresponds to an icon in the toolbox, rest the
mouse cursor over the icon for a moment. A tool tip displays the name of
Tip the control.
You do not specify the position of a form by dragging it, but rather by set-
ting its Top and Left properties or its StartUpPosition property.
Note
More fine points of user form interface design are presented in Sessions 20 and 21.
Setting Properties
When the user form designer is open and an object (form or control) is selected, that object’s
properties are displayed in the Properties window. There are three parts to this window:
The drop-down list at the top displays the object type and name of the selected
object (the name is in bold type). You can select another object from this list.
The Alphabetic tab lists all the object’s properties in alphabetical order.
The Categorized tab lists all the object’s properties organized by category, such as
Appearance, Data, Font, and so on.