
Page 305 - Hacking Roomba
P. 305
286 Part III — More Complex Interfacing
Making an Arduino Prototyping Shield Continued
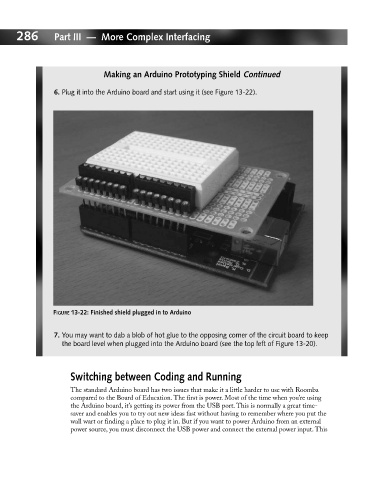
6. Plug it into the Arduino board and start using it (see Figure 13-22).
FIGURE 13-22: Finished shield plugged in to Arduino
7. You may want to dab a blob of hot glue to the opposing corner of the circuit board to keep
the board level when plugged into the Arduino board (see the top left of Figure 13-20).
Switching between Coding and Running
The standard Arduino board has two issues that make it a little harder to use with Roomba
compared to the Board of Education. The first is power. Most of the time when you’re using
the Arduino board, it’s getting its power from the USB port. This is normally a great time-
saver and enables you to try out new ideas fast without having to remember where you put the
wall wart or finding a place to plug it in. But if you want to power Arduino from an external
power source, you must disconnect the USB power and connect the external power input. This