
Page 213 -
P. 213
243_MasterPieces_04a.qxd 4/18/03 7:06 PM Page 185
PneumADDic II • Masterpiece 4 185
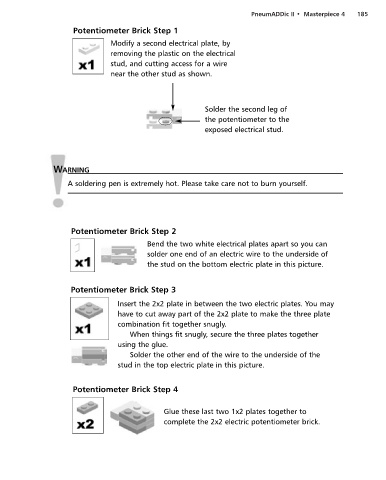
Potentiometer Brick Step 1
Modify a second electrical plate, by
removing the plastic on the electrical
stud, and cutting access for a wire
near the other stud as shown.
Solder the second leg of
the potentiometer to the
exposed electrical stud.
WARNING
A soldering pen is extremely hot. Please take care not to burn yourself.
Potentiometer Brick Step 2
Bend the two white electrical plates apart so you can
solder one end of an electric wire to the underside of
the stud on the bottom electric plate in this picture.
Potentiometer Brick Step 3
Insert the 2x2 plate in between the two electric plates. You may
have to cut away part of the 2x2 plate to make the three plate
combination fit together snugly.
When things fit snugly, secure the three plates together
using the glue.
Solder the other end of the wire to the underside of the
stud in the top electric plate in this picture.
Potentiometer Brick Step 4
Glue these last two 1x2 plates together to
complete the 2x2 electric potentiometer brick.