
Page 45 - Make Your Own PCBs with EAGLE from Schematic Designs to Finished Boards
P. 45
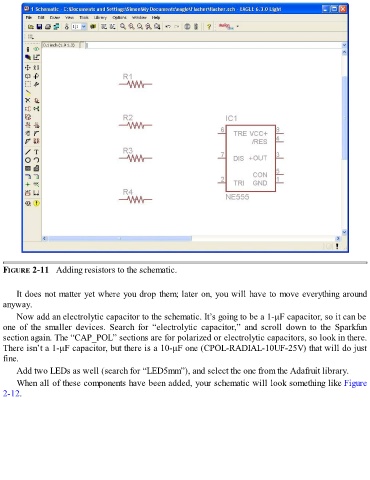
FIGURE 2-11   Adding resistors to the schematic.


      It does not matter yet where you drop them; later on, you will have to move everything around
  anyway.

      Now add an electrolytic capacitor to the schematic. It’s going to be a 1-μF capacitor, so it can be
  one  of  the  smaller  devices.  Search  for  “electrolytic  capacitor,”  and  scroll  down  to  the  Sparkfun
  section again. The “CAP_POL” sections are for polarized or electrolytic capacitors, so look in there.
  There isn’t a 1-μF capacitor, but there is a 10-μF one (CPOL-RADIAL-10UF-25V) that will do just
  fine.

      Add two LEDs as well (search for “LED5mm”), and select the one from the Adafruit library.
      When all of these components have been added, your schematic will look something like Figure
  2-12.