
Page 49 - Make Your Own PCBs with EAGLE from Schematic Designs to Finished Boards
P. 49
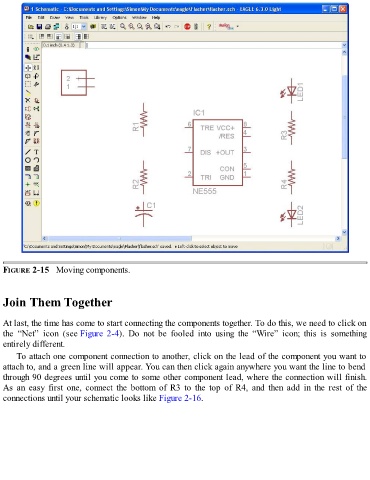
FIGURE 2-15   Moving components.


  Join Them Together


  At last, the time has come to start connecting the components together. To do this, we need to click on
  the  “Net”  icon  (see Figure 2-4).  Do  not  be  fooled  into  using  the  “Wire”  icon;  this  is  something
  entirely different.

      To attach one component connection to another, click on the lead of the component you want to
  attach to, and a green line will appear. You can then click again anywhere you want the line to bend
  through 90 degrees until you come to some other component lead, where the connection will finish.
  As  an  easy  first  one,  connect  the  bottom  of  R3  to  the  top  of  R4,  and  then  add  in  the  rest  of  the
  connections until your schematic looks like Figure 2-16.