
Page 315 - Making things move_ DIY mechanisms for inventors, hobbyists, and artists
P. 315
292 Making Things Move
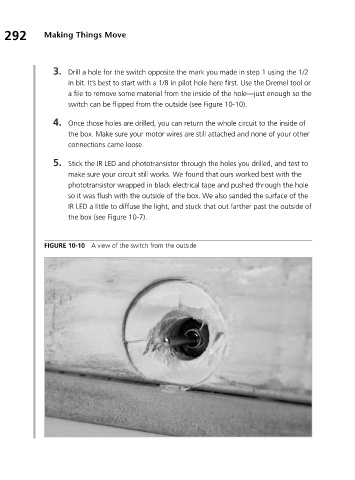
3. Drill a hole for the switch opposite the mark you made in step 1 using the 1/2
in bit. It’s best to start with a 1/8 in pilot hole here first. Use the Dremel tool or
a file to remove some material from the inside of the hole—just enough so the
switch can be flipped from the outside (see Figure 10-10).
4. Once those holes are drilled, you can return the whole circuit to the inside of
the box. Make sure your motor wires are still attached and none of your other
connections came loose.
5. Stick the IR LED and phototransistor through the holes you drilled, and test to
make sure your circuit still works. We found that ours worked best with the
phototransistor wrapped in black electrical tape and pushed through the hole
so it was flush with the outside of the box. We also sanded the surface of the
IR LED a little to diffuse the light, and stuck that out farther past the outside of
the box (see Figure 10-7).
FIGURE 10-10 A view of the switch from the outside