
Page 357 - Making things move_ DIY mechanisms for inventors, hobbyists, and artists
P. 357
334 Making Things Move
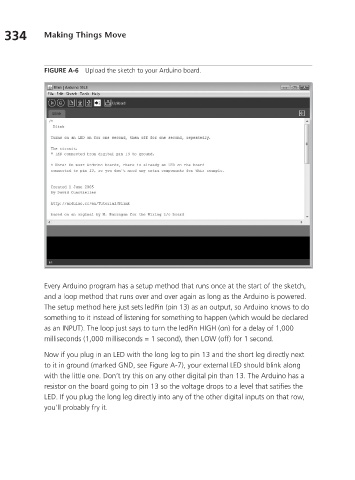
FIGURE A-6 Upload the sketch to your Arduino board.
Every Arduino program has a setup method that runs once at the start of the sketch,
and a loop method that runs over and over again as long as the Arduino is powered.
The setup method here just sets ledPin (pin 13) as an output, so Arduino knows to do
something to it instead of listening for something to happen (which would be declared
as an INPUT). The loop just says to turn the ledPin HIGH (on) for a delay of 1,000
milliseconds (1,000 milliseconds = 1 second), then LOW (off) for 1 second.
Now if you plug in an LED with the long leg to pin 13 and the short leg directly next
to it in ground (marked GND, see Figure A-7), your external LED should blink along
with the little one. Don’t try this on any other digital pin than 13. The Arduino has a
resistor on the board going to pin 13 so the voltage drops to a level that satifies the
LED. If you plug the long leg directly into any of the other digital inputs on that row,
you’ll probably fry it.