
Page 154 - Programming the Photon Getting Started With the Internet of Things
P. 154
interactive projects using a number of inputs and outputs that feature on the shield. Not
only that, but it is a simple way to start building your very own prototypes straight out of
the box. The Internet button lets you play with lots of light-emitting diodes (LEDs) and
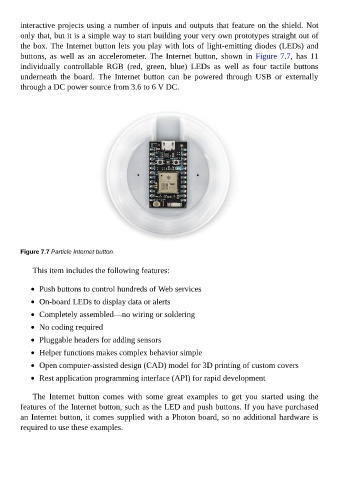
buttons, as well as an accelerometer. The Internet button, shown in Figure 7.7, has 11
individually controllable RGB (red, green, blue) LEDs as well as four tactile buttons
underneath the board. The Internet button can be powered through USB or externally
through a DC power source from 3.6 to 6 V DC.
Figure 7.7 Particle Internet button.
This item includes the following features:
Push buttons to control hundreds of Web services
On-board LEDs to display data or alerts
Completely assembled—no wiring or soldering
No coding required
Pluggable headers for adding sensors
Helper functions makes complex behavior simple
Open computer-assisted design (CAD) model for 3D printing of custom covers
Rest application programming interface (API) for rapid development
The Internet button comes with some great examples to get you started using the
features of the Internet button, such as the LED and push buttons. If you have purchased
an Internet button, it comes supplied with a Photon board, so no additional hardware is
required to use these examples.