
Page 38 - Programming the Photon Getting Started With the Internet of Things
P. 38
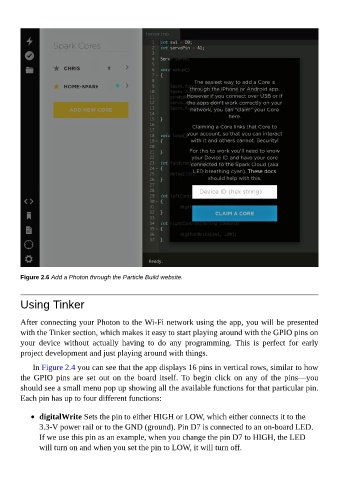
Figure 2.6 Add a Photon through the Particle Build website.


        Using Tinker


        After connecting your Photon to the Wi-Fi network using the app, you will be presented
        with the Tinker section, which makes it easy to start playing around with the GPIO pins on
        your  device  without  actually  having  to  do  any  programming.  This  is  perfect  for  early

        project development and just playing around with things.

             In Figure 2.4 you can see that the app displays 16 pins in vertical rows, similar to how
        the  GPIO  pins  are  set  out  on  the  board  itself.  To  begin  click  on  any  of  the  pins—you
        should see a small menu pop up showing all the available functions for that particular pin.

        Each pin has up to four different functions:


               digitalWrite Sets the pin to either HIGH or LOW, which either connects it to the
               3.3-V power rail or to the GND (ground). Pin D7 is connected to an on-board LED.
               If we use this pin as an example, when you change the pin D7 to HIGH, the LED
               will turn on and when you set the pin to LOW, it will turn off.