
Page 93 - Robot Builder's Bonanza
P. 93
62 MECHANICAL CONSTRUCTION TECHNIQUES
If you’re using a drill press where you adjust the speed by changing the position of a rubber
belt, place the belt into the High, Medium, and Low positions accordingly. As changing the
belt is a hassle, you may want to just set it to Low, and drill everything that way. It’s better to
drill wood using a slow bit than metal using a fast bit.
PROPER USE OF THE DRILL CHUCK
The chuck is the mechanical “jaws” that hold the bit in the drill motor. While some electric
drills use an automatic chuck system, most chucks are operated using a chuck key: insert the
key into one of the holes in the side of the chuck, and loosen or tighten the jaws. Keep the
following in mind when using the drill chuck:
Insert only the smooth shank of the bit into the chuck and none of the flutes. Otherwise,
the bit might be damaged.
Be sure the bit is centered in the jaws of the chuck before tightening. If the bit is even
slightly off- center, the hole will come out too large and distorted.
Don’t over tighten the chuck. Too tight makes it harder to loosen when you want to
remove the bit.
Tighten the chuck using at least two key holes. This evens out the torque applied to the
chuck and makes it easier to loosen the chuck when you’re done.
CONTROLLING THE DEPTH OF DRILLING
Most of the holes you drill will be completely through the material, but sometimes you need
to drill only partway in, then stop. For example, you might want a limited- depth hole in the
jaw of an android robot for setting a pin that’s used as a hinge.
There are various methods to control the depth of the hole in thicker materials. My favorite
method is to wrap masking tape around the shaft of the drill bit (see Figure 6-2). Place the
edge of the tape at the depth you want for the hole.
Another type of depth- limited hole is the counterbore, where the drill hole is in differ-
ent diameters. Counterbore holes, like that in Figure 6-3, can be created by first
drilling with a small bit, then using a larger bit only partway through the material.
The technique is often used with tapered screws, when you want the bottom of the
hole to be smaller than the top.
ALIGNING HOLES
Drilling with any handheld tool will naturally produce a certain amount of error.
Even the most skilled worker cannot always drill a hole that is at exact right angles
to the surface of the material.
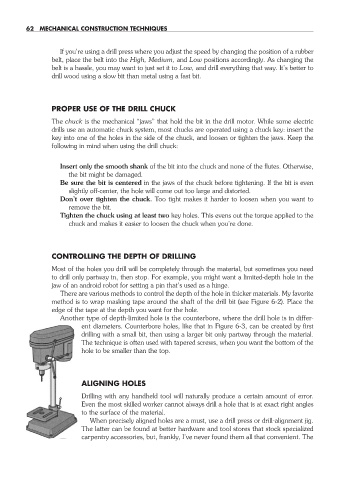
When precisely aligned holes are a must, use a drill press or drill- alignment jig.
The latter can be found at better hardware and tool stores that stock specialized
carpentry accessories, but, frankly, I’ve never found them all that convenient. The
06-chapter-6.indd 62 4/21/11 11:44 AM