
Page 131 - Robots Androids and Animatrons : 12 Incredible Projects You Can Build
P. 131
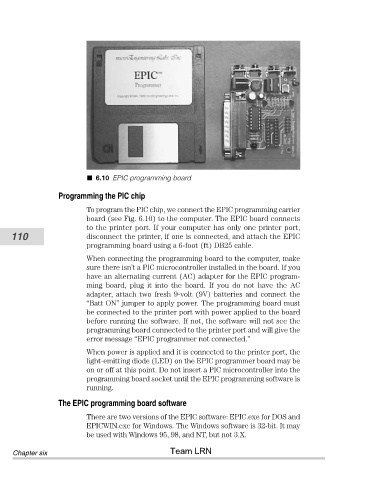
6.10 EPIC programming board

                        Programming the PIC chip

                                To program the PIC chip, we connect the EPIC programming carrier
                                board (see Fig. 6.10) to the computer. The EPIC board connects
                                to the printer port. If your computer has only one printer port,
           110                  disconnect the printer, if one is connected, and attach the EPIC
                                programming board using a 6-foot (ft) DB25 cable.
                                When connecting the programming board to the computer, make
                                sure there isn’t a PIC microcontroller installed in the board. If you
                                have an alternating current (AC) adapter for the EPIC program-
                                ming  board,  plug  it  into  the  board.  If  you  do  not  have  the  AC
                                adapter, attach two fresh 9-volt (9V) batteries and connect the
                                “Batt ON” jumper to apply power. The programming board must
                                be connected to the printer port with power applied to the board
                                before running the software. If not, the software will not see the
                                programming board connected to the printer port and will give the
                                error message “EPIC programmer not connected.”
                                When power is applied and it is connected to the printer port, the
                                light-emitting diode (LED) on the EPIC programmer board may be
                                on or off at this point. Do not insert a PIC microcontroller into the
                                programming board socket until the EPIC programming software is
                                running.
                        The EPIC programming board software

                                There are two versions of the EPIC software: EPIC.exe for DOS and
                                EPICWIN.exe for Windows. The Windows software is 32-bit. It may
                                be used with Windows 95, 98, and NT, but not 3.X.
                                                       Team LRN
            Chapter six