
Page 215 - ARM Based Microcontroller Projects Using MBED
P. 215
8.22 PROJECT 18—DIGITAL THERMOSTAT 201
while(1) // Do forever
{
mV = 3300.0f * ain.read(); // Voltage in mV
T = (mV - 500.0f) / 10.0f; // Temperature in C
gotoscr('4', '0'); // Goto line 4 col 0
MyPC.printf("Temperature = ");
MyPC.printf("%5.2f", T); // Display voltage
wait(1.0); // Wait 1 second
}
}
FIG. 8.65, CONT’D
The program executes in an endless loop formed using a while statement. Inside this loop, the
output voltage of the sensor is read using the read() statement which returns a floating point
data in the range 0.0–1.0. With a 3.3V ADC reference voltage, 0.0 corresponds to 0V and 1.0
corresponds to +3.3V. The actual analog voltage in millivolts is found by multiplying the data
read by 3300. This value is then converted into real physical voltage and stored as millivolts in
variable mV. The voltage reading is then converted into degrees Centigrade temperature by
subtracting 500 and dividing by 10. This value is then displayed on the PC screen every sec-
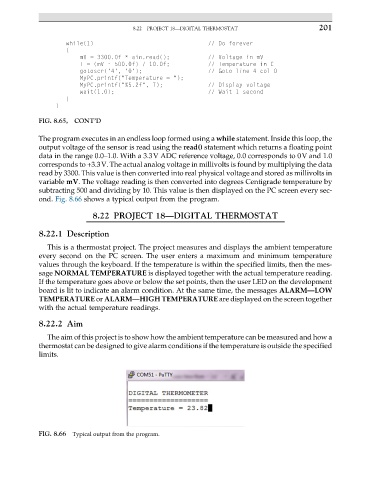
ond. Fig. 8.66 shows a typical output from the program.
8.22 PROJECT 18—DIGITAL THERMOSTAT
8.22.1 Description
This is a thermostat project. The project measures and displays the ambient temperature
every second on the PC screen. The user enters a maximum and minimum temperature
values through the keyboard. If the temperature is within the specified limits, then the mes-
sage NORMAL TEMPERATURE is displayed together with the actual temperature reading.
If the temperature goes above or below the set points, then the user LED on the development
board is lit to indicate an alarm condition. At the same time, the messages ALARM—LOW
TEMPERATURE or ALARM—HIGH TEMPERATURE are displayed on the screen together
with the actual temperature readings.
8.22.2 Aim
The aim of this project is to show how the ambient temperature can be measured and how a
thermostat can be designed to give alarm conditions if the temperature is outside the specified
limits.
FIG. 8.66 Typical output from the program.