
Page 317 - Amphibionics : Build Your Own Biologically Inspired Robot
P. 317
Amphibionics 07 3/24/03 9:13 AM Page 296
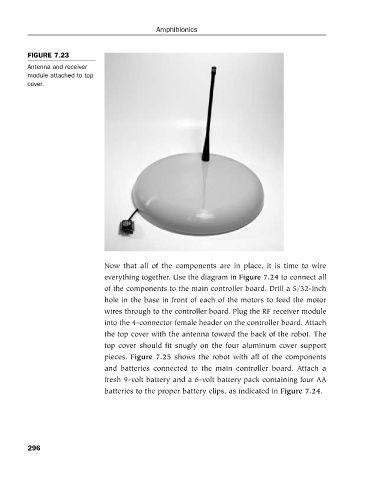
FIGURE 7.23
Antenna and receiver
module attached to top Amphibionics
cover.
Now that all of the components are in place, it is time to wire
everything together. Use the diagram in Figure 7.24 to connect all
of the components to the main controller board. Drill a 5/32-inch
hole in the base in front of each of the motors to feed the motor
wires through to the controller board. Plug the RF receiver module
into the 4-connector female header on the controller board. Attach
the top cover with the antenna toward the back of the robot. The
top cover should fit snugly on the four aluminum cover support
pieces. Figure 7.25 shows the robot with all of the components
and batteries connected to the main controller board. Attach a
fresh 9-volt battery and a 6-volt battery pack containing four AA
batteries to the proper battery clips, as indicated in Figure 7.24.
296