
Page 50 - Build Your Own Quadcopter_ Power Up Your Designs with the Parallax Elev-8
P. 50
Chapter 2: Quadcopter Flight Dynamics 29
available that is very reasonable in cost and even comes with an Arduino microprocessor.
This package is available from Sparkfun.com. The student version is not crippled in any
way; users are simply not permitted to develop commercial (meaning for sale) products
incorporating LV without purchasing a retail LV license.
Every program in LabVIEW (LV) is a called a virtual instrument or VI. This naming
system is from the very earliest days (1986) when LV was first created to control electronic
test equipment. LV has evolved to far more than instrumentation control, but it still pays
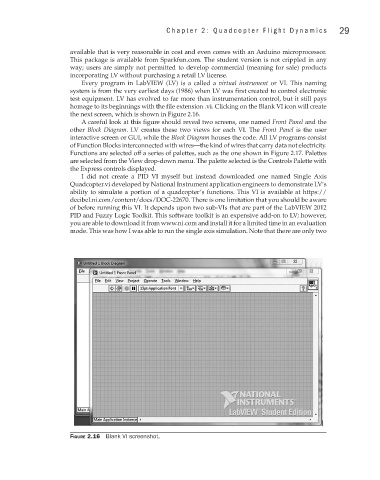
homage to its beginnings with the file extension .vi. Clicking on the Blank VI icon will create
the next screen, which is shown in Figure 2.16.
A careful look at this figure should reveal two screens, one named Front Panel and the
other Block Diagram. LV creates these two views for each VI. The Front Panel is the user
interactive screen or GUI, while the Block Diagram houses the code. All LV programs consist
of Function Blocks interconnected with wires—the kind of wires that carry data not electricity.
Functions are selected off a series of palettes, such as the one shown in Figure 2.17. Palettes
are selected from the View drop-down menu. The palette selected is the Controls Palette with
the Express controls displayed.
I did not create a PID VI myself but instead downloaded one named Single Axis
Quadcopter.vi developed by National Instrument application engineers to demonstrate LV’s
ability to simulate a portion of a quadcopter’s functions. This VI is available at https://
decibel.ni.com/content/docs/DOC-22670. There is one limitation that you should be aware
of before running this VI. It depends upon two sub-VIs that are part of the LabVIEW 2012
PID and Fuzzy Logic Toolkit. This software toolkit is an expensive add-on to LV; however,
you are able to download it from www.ni.com and install it for a limited time in an evaluation
mode. This was how I was able to run the single axis simulation. Note that there are only two
Figure 2.16 Blank VI screenshot.