
Page 214 - Excel Workbook for Dummies
P. 214
21_798452 ch15.qxp 3/13/06 7:41 PM Page 197
Chapter 15: Adding Graphics to the Spreadsheet 197
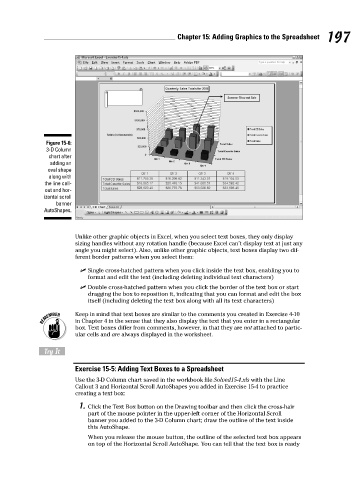
Figure 15-6:
3-D Column
chart after
adding an
oval shape
along with
the line call-
out and hor-
izontal scroll
banner
AutoShapes.
Unlike other graphic objects in Excel, when you select text boxes, they only display
sizing handles without any rotation handle (because Excel can’t display text at just any
angle you might select). Also, unlike other graphic objects, text boxes display two dif-
ferent border patterns when you select them:
Single cross-hatched pattern when you click inside the text box, enabling you to
format and edit the text (including deleting individual text characters)
Double cross-hatched pattern when you click the border of the text box or start
dragging the box to reposition it, indicating that you can format and edit the box
itself (including deleting the text box along with all its text characters)
Keep in mind that text boxes are similar to the comments you created in Exercise 4-10
in Chapter 4 in the sense that they also display the text that you enter in a rectangular
box. Text boxes differ from comments, however, in that they are not attached to partic-
ular cells and are always displayed in the worksheet.
Try It
Exercise 15-5: Adding Text Boxes to a Spreadsheet
Use the 3-D Column chart saved in the workbook file Solved15-4.xls with the Line
Callout 3 and Horizontal Scroll AutoShapes you added in Exercise 15-4 to practice
creating a text box:
1. Click the Text Box button on the Drawing toolbar and then click the cross-hair
part of the mouse pointer in the upper-left corner of the Horizontal Scroll
banner you added to the 3-D Column chart; draw the outline of the text inside
this AutoShape.
When you release the mouse button, the outline of the selected text box appears
on top of the Horizontal Scroll AutoShape. You can tell that the text box is ready