
Page 209 - Excel Workbook for Dummies
P. 209
21_798452 ch15.qxp 3/13/06 7:41 PM Page 192
192 Part III: Working with Graphics
Importing graphics files
In addition to the clip art images stored on your computer system, you can also insert
graphic files that you keep in any folder containing your artwork and digital photographs
such as My Pictures in My Documents on your hard disk.
To insert a picture into the worksheet, click the Insert Picture from File button on the
Drawing toolbar. Doing this opens the Insert Picture dialog box. This dialog box works
just like the Open dialog box except that it’s set to display only the graphics files that
Excel can import, and it automatically looks in the My Pictures folder on your hard disk
(which you can change by selecting another folder in the Look In drop-down list box).
After you locate the graphics file with the image you want to insert in the worksheet,
click its thumbnail in the Insert Picture dialog box and then click the Insert button to
import it into the current worksheet. Excel then displays the image from the file you
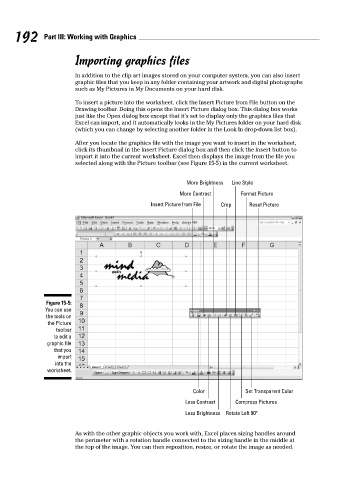
selected along with the Picture toolbar (see Figure 15-5) in the current worksheet.
More Brightness Line Style
More Contrast Format Picture
Insert Picture from File Crop Reset Picture
Figure 15-5:
You can use
the tools on
the Picture
toolbar
to edit a
graphic file
that you
import
into the
worksheet.
Color Set Transparent Color
Less Contrast Compress Pictures
Less Brightness Rotate Left 90º
As with the other graphic objects you work with, Excel places sizing handles around
the perimeter with a rotation handle connected to the sizing handle in the middle at
the top of the image. You can then reposition, resize, or rotate the image as needed.