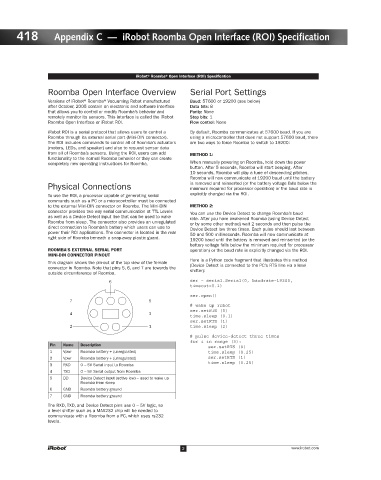
Page 437 - Hacking Roomba
P. 437
418       Appendix C — iRobot Roomba Open Interface (ROI) Specification


                                               iRobot® Roomba® Open Interface (ROI) Specification
                      Roomba Open Interface Overview          Serial Port Settings
                      Versions of iRobot® Roomba® Vacuuming Robot manufactured   Baud: 57600 or 19200 (see below)
                      after October, 2005 contain an electronic and software interface   Data bits: 8
                      that allows you to control or modify Roomba’s behavior and   Parity: None
                      remotely monitor its sensors. This interface is called the iRobot   Stop bits: 1
                      Roomba Open Interface or iRobot ROI.    Flow control: None
                      iRobot ROI is a serial protocol that allows users to control a   By default, Roomba communicates at 57600 baud. If you are
                      Roomba through its external serial port (Mini-DIN connector).   using a microcontroller that does not support 57600 baud, there
                      The ROI includes commands to control all of Roomba’s actuators   are two ways to force Roomba to switch to 19200:
                      (motors, LEDs, and speaker) and also to request sensor data
                      from all of Roomba’s sensors. Using the ROI, users can add   METHOD 1:
                      functionality to the normal Roomba behavior or they can create
                      completely new operating instructions for Roomba.  When manually powering on Roomba, hold down the power
                                                              button. After 5 seconds, Roomba will start beeping. After
                                                              10 seconds, Roomba will play a tune of descending pitches.
                                                              Roomba will now communicate at 19200 baud until the battery
                      Physical Connections                    is removed and reinserted (or the battery voltage falls below the
                                                              minimum required for processor operation) or the baud rate is
                                                              explicitly changed via the ROI.
                      To use the ROI, a processor capable of generating serial
                      commands such as a PC or a microcontroller must be connected
                      to the external Mini-DIN connector on Roomba. The Mini-DIN   METHOD 2:
                      connector provides two way serial communication at TTL Levels   You can use the Device Detect to change Roomba’s baud
                      as well as a Device Detect input line that can be used to wake   rate. After you have awakened Roomba (using Device Detect
                      Roomba from sleep. The connector also provides an unregulated   or by some other method) wait 2 seconds and then pulse the
                      direct connection to Roomba’s battery which users can use to   Device Detect low three times. Each pulse should last between
                      power their ROI applications. The connector is located in the rear   50 and 500 milliseconds. Roomba will now communicate at
                      right side of Roomba beneath a snap-away plastic guard.
                                                              19200 baud until the battery is removed and reinserted (or the
                                                              battery voltage falls below the minimum required for processor
                      ROOMBA’S EXTERNAL SERIAL PORT           operation) or the baud rate is explicitly changed via the ROI.
                      MINI-DIN CONNECTOR PINOUT
                                                              Here is a Python code fragment that illustrates this method
                      This diagram shows the pin-out of the top view of the female   (Device Detect is connected to the PC’s RTS line via a level
                      connector in Roomba. Note that pins 5, 6, and 7 are towards the   shifter):
                      outside circumference of Roomba.
                                       6                      ser = serial.Serial(0, baudrate=19200,
                                                              timeout=0.1)
                                                              ser.open()
                            7                      5
                                                              # wake up robot
                                                              ser.setRTS (0)
                            4                      3
                                                              time.sleep (0.1)
                                                              ser.setRTS (1)
                            2                      1          time.sleep (2)
                                                              # pulse device-detect three times
                                                              for i in range (3):
                       Pin  Name  Description
                                                                   ser.setRTS (0)
                       1   Vpwr  Roomba battery + (unregulated)    time.sleep (0.25)
                       2   Vpwr  Roomba battery + (unregulated)    ser.setRTS (1)
                                                                   time.sleep (0.25)
                       3   RXD  0 – 5V Serial input to Roomba
                       4   TXD  0 – 5V Serial output from Roomba
                       5   DD  Device Detect input (active low) – used to wake up
                               Roomba from sleep
                       6   GND  Roomba battery ground
                       7   GND  Roomba battery ground
                      The RXD, TXD, and Device Detect pins use 0 – 5V logic, so
                      a level shifter such as a MAX232 chip will be needed to
                      communicate with a Roomba from a PC, which uses rs232
                      levels.
                                                            2                             www.irobot.com

