
Page 79 - Hacking Roomba
P. 79
60 Part I — Interfacing
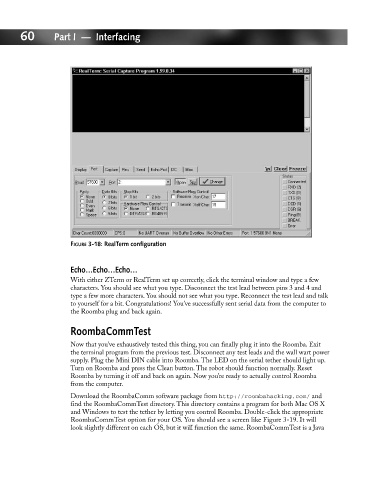
FIGURE 3-18: RealTerm configuration
Echo…Echo…Echo…
With either ZTerm or RealTerm set up correctly, click the terminal window and type a few
characters. You should see what you type. Disconnect the test lead between pins 3 and 4 and
type a few more characters. You should not see what you type. Reconnect the test lead and talk
to yourself for a bit. Congratulations! You’ve successfully sent serial data from the computer to
the Roomba plug and back again.
RoombaCommTest
Now that you’ve exhaustively tested this thing, you can finally plug it into the Roomba. Exit
the terminal program from the previous test. Disconnect any test leads and the wall wart power
supply. Plug the Mini DIN cable into Roomba. The LED on the serial tether should light up.
Turn on Roomba and press the Clean button. The robot should function normally. Reset
Roomba by turning it off and back on again. Now you’re ready to actually control Roomba
from the computer.
Download the RoombaComm software package from http://roombahacking.com/ and
find the RoombaCommTest directory. This directory contains a program for both Mac OS X
and Windows to test the tether by letting you control Roomba. Double-click the appropriate
RoombaCommTest option for your OS. You should see a screen like Figure 3-19. It will
look slightly different on each OS, but it will function the same. RoombaCommTest is a Java