
Page 74 - Hacking Roomba
P. 74
Chapter 3 — Building a Roomba Serial Interface Tether 55
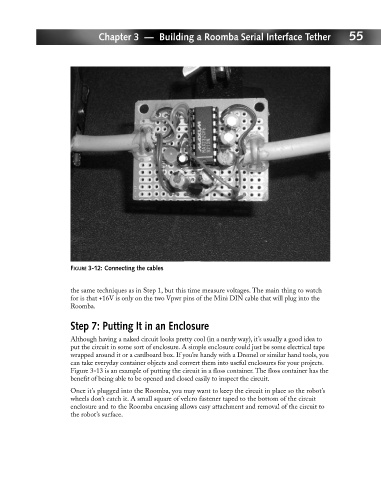
FIGURE 3-12: Connecting the cables
the same techniques as in Step 1, but this time measure voltages. The main thing to watch
for is that +16V is only on the two Vpwr pins of the Mini DIN cable that will plug into the
Roomba.
Step 7: Putting It in an Enclosure
Although having a naked circuit looks pretty cool (in a nerdy way), it’s usually a good idea to
put the circuit in some sort of enclosure. A simple enclosure could just be some electrical tape
wrapped around it or a cardboard box. If you’re handy with a Dremel or similar hand tools, you
can take everyday container objects and convert them into useful enclosures for your projects.
Figure 3-13 is an example of putting the circuit in a floss container. The floss container has the
benefit of being able to be opened and closed easily to inspect the circuit.
Once it’s plugged into the Roomba, you may want to keep the circuit in place so the robot’s
wheels don’t catch it. A small square of velcro fastener taped to the bottom of the circuit
enclosure and to the Roomba encasing allows easy attachment and removal of the circuit to
the robot’s surface.