
Page 196 - Make Your Own PCBs with EAGLE from Schematic Designs to Finished Boards
P. 196
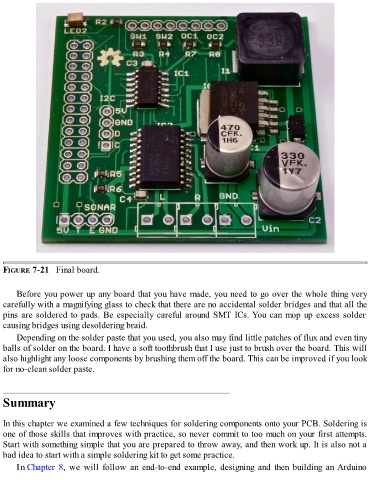
FIGURE 7-21   Final board.


      Before you power up any board that you have made, you need to go over the whole thing very
  carefully with a magnifying glass to check that there are no accidental solder bridges and that all the
  pins are soldered to pads. Be especially careful around SMT ICs. You can mop up excess solder
  causing bridges using desoldering braid.

      Depending on the solder paste that you used, you also may find little patches of flux and even tiny
  balls of solder on the board. I have a soft toothbrush that I use just to brush over the board. This will
  also highlight any loose components by brushing them off the board. This can be improved if you look
  for no-clean solder paste.


  Summary


  In this chapter we examined a few techniques for soldering components onto your PCB. Soldering is
  one of those skills that improves with practice, so never commit to too much on your first attempts.
  Start with something simple that you are prepared to throw away, and then work up. It is also not a
  bad idea to start with a simple soldering kit to get some practice.

      In Chapter 8,  we  will  follow  an  end-to-end  example,  designing  and  then  building  an Arduino