
Page 192 - Make Your Own PCBs with EAGLE from Schematic Designs to Finished Boards
P. 192
materials and is placed over the PCB. It masks out most of the PCB surface except for the areas
where solder paste needs to be deposited. You then place some solder paste on the stencil and
“squeegee” the solder paste into all the holes in the mask. The excess solder paste is then scraped up
and the template removed, leaving solder paste on all the pads.
You can also make your own stencils, and if you search the Internet, you will find various do-it-
yourself (DIY) techniques for doing this using laser or vinyl cutters or even transferring toner onto a
cut-up drink can that is then put in acid to dissolve away the holes and make the template.
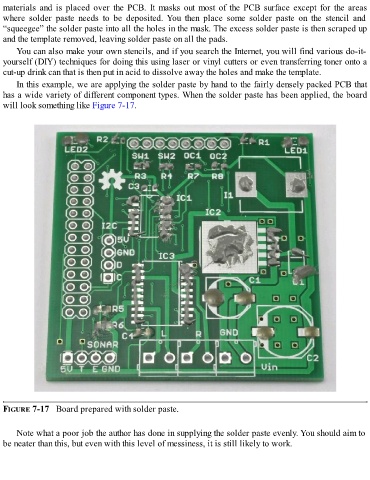
In this example, we are applying the solder paste by hand to the fairly densely packed PCB that
has a wide variety of different component types. When the solder paste has been applied, the board
will look something like Figure 7-17.
FIGURE 7-17 Board prepared with solder paste.
Note what a poor job the author has done in supplying the solder paste evenly. You should aim to
be neater than this, but even with this level of messiness, it is still likely to work.