
Page 351 - Making things move_ DIY mechanisms for inventors, hobbyists, and artists
P. 351
328 Making Things Move
his appendix includes sections on getting power to your breadboard as well as
Tsetting up the Arduino hardware and software.
Getting Power to Your Breadboard
Directly plugging a battery pack into your breadboard is not the best way to get
power to it. This method, used extensively in Chapter 6, is not technically a good
practice because the four AA batteries can give you anywhere between 4V to 6.4V,
depending on if the batteries are rechargeable and how new they are. However, chips
like the H-bridge used in Project 6-5 are more comfortable with a steady voltage between
4.5V to 5.5V. And most motors will want a different voltage than your logic circuit.
The following methods help get a more regulated power supply into your breadboard:
• Use hook-up wire to bring regulated power from a benchtop supply into your
breadboard (see Project 10-3 for reference).
• See Tom Igoe’s notes on soldering a power supply connector to plug directly
into your breadboard and use with an AC adaptor (http://itp.nyu.edu/
physcomp/Labs/Soldering).
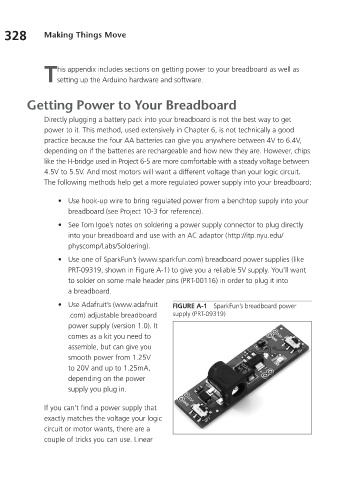
• Use one of SparkFun’s (www.sparkfun.com) breadboard power supplies (like
PRT-09319, shown in Figure A-1) to give you a reliable 5V supply. You’ll want
to solder on some male header pins (PRT-00116) in order to plug it into
a breadboard.
• Use Adafruit’s (www.adafruit FIGURE A-1 SparkFun’s breadboard power
.com) adjustable breadboard supply (PRT-09319)
power supply (version 1.0). It
comes as a kit you need to
assemble, but can give you
smooth power from 1.25V
to 20V and up to 1.25mA,
depending on the power
supply you plug in.
If you can’t find a power supply that
exactly matches the voltage your logic
circuit or motor wants, there are a
couple of tricks you can use. Linear