
Page 67 - Mastering SolidWorks
P. 67
|
ideNtifyiNg elemeNtS of the SolidWorkS iNterface 35
Managing Toolbars
After all that, if you still feel you need to work with standard toolbars, it is easy to move, select
and deselect, and add icons to toolbars. It is important to remember that different document
types retain different toolbar settings; for example, the toolbars that you see with a part open are
different from the toolbars that you see for drawings. For this reason, when you change from a
part document to a drawing document, you may see your display adjust because the changing
toolbars increase or decrease the amount of space that is required.
Best Practice
a best practice is to set up the toolbars for each document type so they take up similar amounts of
space—for example, two rows on top and one column to the right. this way, when changing between
document types, the graphics area does not need to resize.
Moving Toolbars
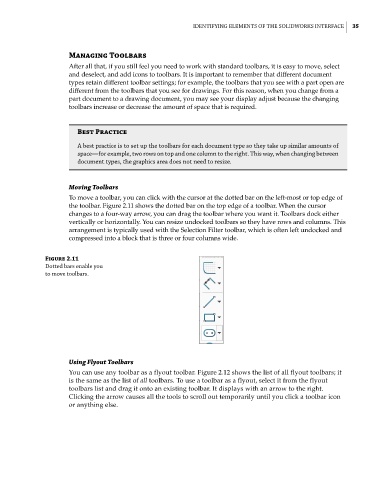
To move a toolbar, you can click with the cursor at the dotted bar on the left-most or top edge of
the toolbar. Figure 2.11 shows the dotted bar on the top edge of a toolbar. When the cursor
changes to a four-way arrow, you can drag the toolbar where you want it. Toolbars dock either
vertically or horizontally. You can resize undocked toolbars so they have rows and columns. This
arrangement is typically used with the Selection Filter toolbar, which is often left undocked and
compressed into a block that is three or four columns wide.
Figure 2.11
dotted bars enable you
to move toolbars.
Using Flyout Toolbars
You can use any toolbar as a flyout toolbar. Figure 2.12 shows the list of all flyout toolbars; it
is the same as the list of all toolbars. To use a toolbar as a flyout, select it from the flyout
toolbars list and drag it onto an existing toolbar. It displays with an arrow to the right.
Clicking the arrow causes all the tools to scroll out temporarily until you click a toolbar icon
or anything else.