
Page 165 - Programming the Photon Getting Started With the Internet of Things
P. 165
In the next field you will see the test operation; this is where you can apply some
simple math to determine how you want the trigger to work. In our case we want to trigger
the e-mail when the value of light is above a certain value, indicating there is some light;
therefore, we want the test operation to be greater than the value we set in the next step.
Alternatively, if you wanted to know when it gets dark, then you would change the value
to less than.
In the last field of the trigger operations, we put our threshold value. At this point it
may be wise to reflash the Photon with Tinker to get a range of values of ambient light—
for example, I have a range between 100 and 700, where 100 is dark and 700 is bright. So
with this in mind, I will set my trigger value to 200, which should indicate the sun has
come up and it’s morning. You may want to play around with these values a little bit to get
it right.
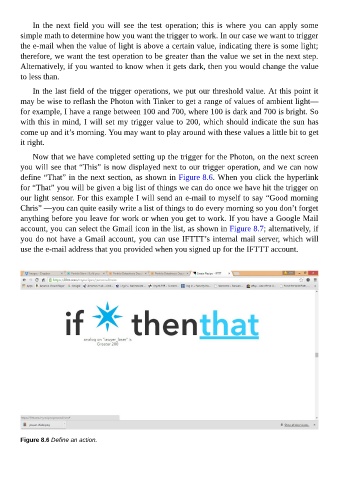
Now that we have completed setting up the trigger for the Photon, on the next screen
you will see that “This” is now displayed next to our trigger operation, and we can now
define “That” in the next section, as shown in Figure 8.6. When you click the hyperlink
for “That” you will be given a big list of things we can do once we have hit the trigger on
our light sensor. For this example I will send an e-mail to myself to say “Good morning
Chris” —you can quite easily write a list of things to do every morning so you don’t forget
anything before you leave for work or when you get to work. If you have a Google Mail
account, you can select the Gmail icon in the list, as shown in Figure 8.7; alternatively, if
you do not have a Gmail account, you can use IFTTT’s internal mail server, which will
use the e-mail address that you provided when you signed up for the IFTTT account.
Figure 8.6 Define an action.