
Page 161 - Programming the Photon Getting Started With the Internet of Things
P. 161
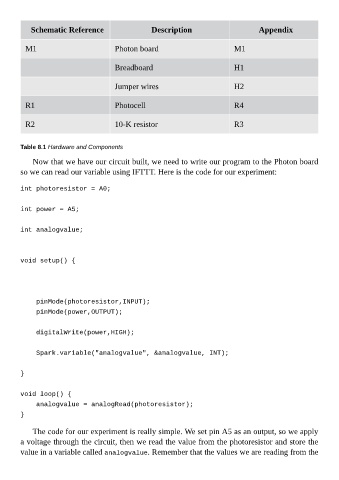
Schematic Reference                       Description                           Appendix


          M1                             Photon board                              M1


                                         Breadboard                                H1


                                         Jumper wires                              H2


          R1                             Photocell                                 R4


          R2                             10-K resistor                             R3


        Table 8.1 Hardware and Components

             Now that we have our circuit built, we need to write our program to the Photon board
        so we can read our variable using IFTTT. Here is the code for our experiment:


        int photoresistor = A0;


        int power = A5;


        int analogvalue;


        void setup() {


            pinMode(photoresistor,INPUT);
            pinMode(power,OUTPUT);


            digitalWrite(power,HIGH);


            Spark.variable("analogvalue", &analogvalue, INT);


        }


        void loop() {
            analogvalue = analogRead(photoresistor);
        }


             The code for our experiment is really simple. We set pin A5 as an output, so we apply
        a voltage through the circuit, then we read the value from the photoresistor and store the
        value in a variable called analogvalue. Remember that the values we are reading from the