
Page 116 - Programming the Raspberry Pi Getting Started with Python
P. 116
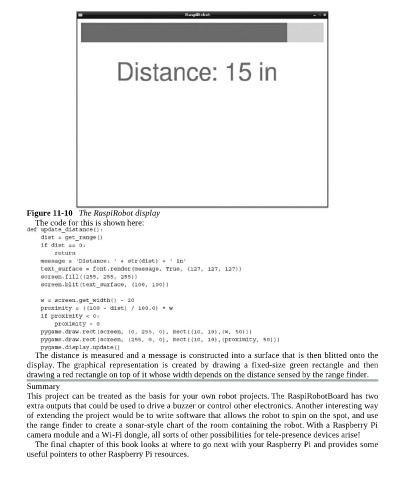
Figure 11-10   The RaspiRobot display
             The code for this is shown here:


             The distance is measured and a message is constructed into a surface that is then blitted onto the
          display. The  graphical  representation  is  created  by  drawing  a  fixed-size  green  rectangle  and  then

          drawing a red rectangle on top of it whose width depends on the distance sensed by the range finder.
          Summary
          This project can be treated as the basis for your own robot projects. The RaspiRobotBoard has two
          extra outputs that could be used to drive a buzzer or control other electronics. Another interesting way
          of extending the project would be to write software that allows the robot to spin on the spot, and use
          the range finder to create a sonar-style chart of the room containing the robot. With a Raspberry Pi
          camera module and a Wi-Fi dongle, all sorts of other possibilities for tele-presence devices arise!
             The final chapter of this book looks at where to go next with your Raspberry Pi and provides some
          useful pointers to other Raspberry Pi resources.