
Page 172 - Robot Builder's Bonanza
P. 172
SELECTING AND USING ADHESIVES 141
6. As quickly as possible (within five seconds, no more), bring the opposite surface into
contact and apply pressure to spread the glue. If you can, immediately upon initial
contact gently rotate the joint 5° to 10°, then realign as needed. This helps to spread
the glue.
If any excess glue oozes out from the joint, wipe it up promptly with a paper towel. Don’t
try to remove it with your bare fingers . . . the glue is still very hot!
CLAMPING AND TAPING GLUED JOINTS
It takes time (minutes or even hours) before glue has set to the point where it holds the pieces
together on its own. For very quick bonds— on the order of a minute or two— it’s acceptable
to manually hold the pieces until they are set. Longer setting times may require clamping or
taping. This ensures:
• Adequate pressure to “seal” the bond. The pressure of the clamp promotes full integration
of the adhesive into the material. This applies mostly to porous materials, but it also affects
some nonporous (e.g., plastics, metals) materials as well.
• No movement until the joint is set. If movement occurs, the adhesion may be greatly weak-
ened.
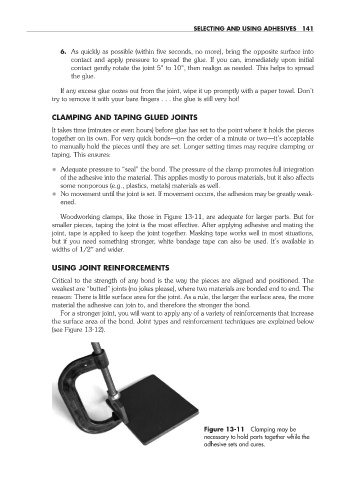
Woodworking clamps, like those in Figure 13-11, are adequate for larger parts. But for
smaller pieces, taping the joint is the most effective. After applying adhesive and mating the
joint, tape is applied to keep the joint together. Masking tape works well in most situations,
but if you need something stronger, white bandage tape can also be used. It’s available in
widths of 1/2″ and wider.
USING JOINT REINFORCEMENTS
Critical to the strength of any bond is the way the pieces are aligned and positioned. The
weakest are “butted” joints (no jokes please), where two materials are bonded end to end. The
reason: There is little surface area for the joint. As a rule, the larger the surface area, the more
material the adhesive can join to, and therefore the stronger the bond.
For a stronger joint, you will want to apply any of a variety of reinforcements that increase
the surface area of the bond. Joint types and reinforcement techniques are explained below
(see Figure 13-12).
Figure 13-11 Clamping may be
necessary to hold parts together while the
adhesive sets and cures.
13-chapter-13.indd 141 4/21/11 11:47 AM