
Page 171 - Robot Builder's Bonanza
P. 171
140 ASSEMBLY TECHNIQUES
Epoxy Hardener Keep it clean. CA glues are very susceptible to ruined
bonds from dirt and oil. Prior to gluing, clean sur-
faces with isopropyl alcohol.
Don’t use too much. Applying too much CA glue is
far worse than not using enough. Try a few drops
on the bonded surface only.
Keep bonded joints away from heat and sunlight.
Otherwise, the bond will become weak, and it may
even spontaneously come apart.
Don’t use with natural fibers. CA glues can produce
a reaction when in contact with wood or cotton.
Mix with Don’t wear cotton gloves when using CA glue.
stirring stick Check the date. Cyanoacrylate glue has a relatively
short shelf life. Toss product that’s more than a
year old. Keep the unused portion in a cool, dry
place.
Don’t get any glue on your skin, or you could wind
up cementing your fingers together. If you have an
accident, acetone is a good solvent for CA glues.
And for heaven’s sake, keep this stuff away from
your face! Seek medical help immediately if any
CA glue gets in your eyes.
USING HOT- MELT GLUE
Hot- melt glue comes in stick form (at least the kind
we’re interested in) and is heated by a special gun-
shaped applicator. Depending on the type of glue,
melting temperatures range from 250° to 400°F. As it
turns out, hot- melt glue isn’t glue at all, but plastic.
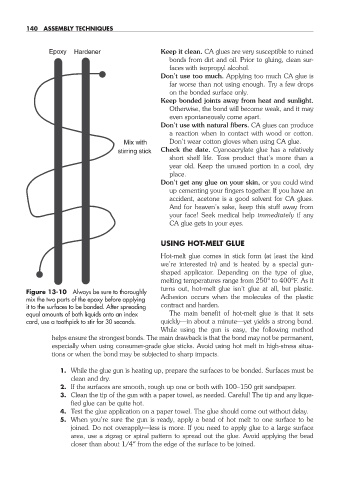
Figure 13-10 Always be sure to thoroughly
mix the two parts of the epoxy before applying Adhesion occurs when the molecules of the plastic
it to the surfaces to be bonded. After spreading contract and harden.
equal amounts of both liquids onto an index The main benefit of hot- melt glue is that it sets
card, use a toothpick to stir for 30 seconds. quickly— in about a minute— yet yields a strong bond.
While using the gun is easy, the following method
helps ensure the strongest bonds. The main drawback is that the bond may not be permanent,
especially when using consumer- grade glue sticks. Avoid using hot melt in high- stress situa-
tions or when the bond may be subjected to sharp impacts.
1. While the glue gun is heating up, prepare the surfaces to be bonded. Surfaces must be
clean and dry.
2. If the surfaces are smooth, rough up one or both with 100–150 grit sandpaper.
3. Clean the tip of the gun with a paper towel, as needed. Careful! The tip and any lique-
fied glue can be quite hot.
4. Test the glue application on a paper towel. The glue should come out without delay.
5. When you’re sure the gun is ready, apply a bead of hot melt to one surface to be
joined. Do not overapply— less is more. If you need to apply glue to a large surface
area, use a zigzag or spiral pattern to spread out the glue. Avoid applying the bead
closer than about 1/4″ from the edge of the surface to be joined.
13-chapter-13.indd 140 4/21/11 11:47 AM