
Page 244 - The Definitive Guide to Building Java Robots
P. 244
Preston_5564C07.fm Page 225 Monday, September 26, 2005 5:38 AM
CHAPTER 7 ■ NAVIGATION 225
Before I begin navigation with these classes, I need to tell you about the robot used,
Feynman5 (see Figure 7-4), because you’ll need to make adjustments to some of the classes
in this chapter depending on the configuration of your robot.
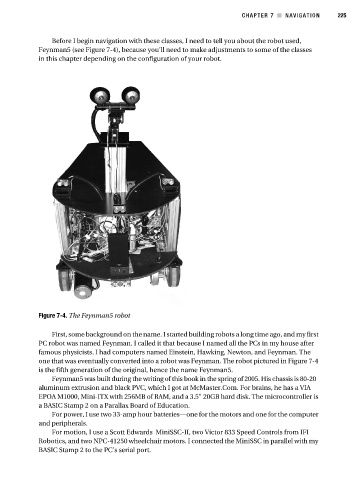
Figure 7-4. The Feynman5 robot
First, some background on the name. I started building robots a long time ago, and my first
PC robot was named Feynman. I called it that because I named all the PCs in my house after
famous physicists. I had computers named Einstein, Hawking, Newton, and Feynman. The
one that was eventually converted into a robot was Feynman. The robot pictured in Figure 7-4
is the fifth generation of the original, hence the name Feynman5.
Feynman5 was built during the writing of this book in the spring of 2005. His chassis is 80-20
aluminum extrusion and black PVC, which I got at McMaster.Com. For brains, he has a VIA
EPOA M1000, Mini-ITX with 256MB of RAM, and a 3.5" 20GB hard disk. The microcontroller is
a BASIC Stamp 2 on a Parallax Board of Education.
For power, I use two 33-amp hour batteries—one for the motors and one for the computer
and peripherals.
For motion, I use a Scott Edwards MiniSSC-II, two Victor 833 Speed Controls from IFI
Robotics, and two NPC-41250 wheelchair motors. I connected the MiniSSC in parallel with my
BASIC Stamp 2 to the PC’s serial port.