
Page 147 - 15 Dangerously Mad Projects for the Evil Genius
P. 147
Chapter 10 ■ Laser Voice Transmitter 125
What You Will Need pair of scissors or by scoring both sides of the
board with a craft knife and then breaking it over
You will need the components in the Parts Bin to
the edge of a table. Use a drill bit twisted between
build the receiver.
your fingers to cut the gaps in the track.
You will also need the following tools to build
Three cuts should be made in the track (Figure
the receiver.
10-4). Make these cuts using a drill bit as a hand
tool, rotating it between your finger and thumb.
T OOLBO X
■ Soldering equipment Step 2. Solder the Links
■ A hot glue gun or self-adhesive pads
As always with stripboard, start by soldering
■ A drill and assorted drill bits those things closest to the board. In this case, that
would be the two linking wires between tracks.
Figure 10-5 shows the stripboard with the link
Assembly of the Receiver
wires soldered into place.
We will assemble the receiver first, building the
design onto a small piece of stripboard. The Step 3. Solder the Resistor and IC
following steps will lead you through the process
Next, solder the resistor.
of assembling the receiver.
Before soldering the IC, place the IC in the
Step 1. The Stripboard correct position, ensuring it is the right way around
(the little dot indicating pin 1 should be top left).
Cut the stripboard to produce an area of ten strips, You may choose to use an IC socket to avoid
each with 20 holes. You can do this with a strong damaging the IC by overheating it during
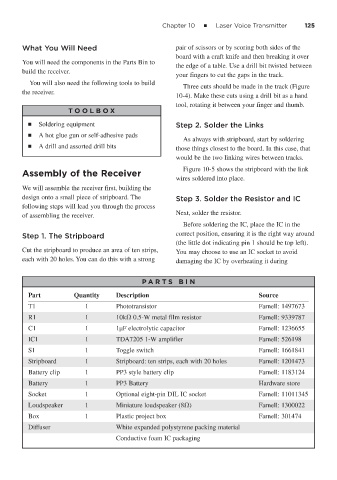
P A RT S BIN
Part Quantity Description Source
T1 1 Phototransistor Farnell: 1497673
R1 1 10k 0.5-W metal film resistor Farnell: 9339787
C1 1 1μF electrolytic capacitor Farnell: 1236655
IC1 1 TDA7205 1-W amplifier Farnell: 526198
S1 1 Toggle switch Farnell: 1661841
Stripboard 1 Stripboard: ten strips, each with 20 holes Farnell: 1201473
Battery clip 1 PP3 style battery clip Farnell: 1183124
Battery 1 PP3 Battery Hardware store
Socket 1 Optional eight-pin DIL IC socket Farnell: 11011345
Loudspeaker 1 Miniature loudspeaker (8 ) Farnell: 1300022
Box 1 Plastic project box Farnell: 301474
Diffuser White expanded polystyrene packing material
Conductive foam IC packaging