
Page 100 - ARM Based Microcontroller Projects Using MBED
P. 100
86 7. USING THE Mbed WITH SIMPLE PROJECTS
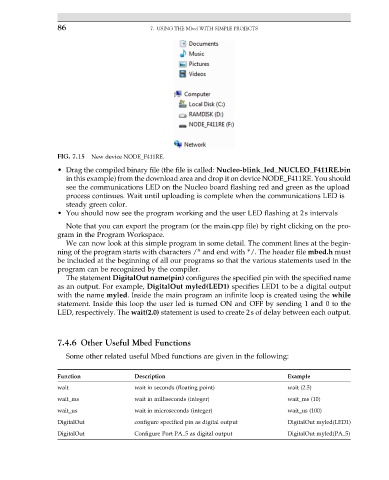
FIG. 7.15 New device NODE_F411RE.
• Drag the compiled binary file (the file is called: Nucleo-blink_led_NUCLEO_F411RE.bin
in this example) from the download area and drop it on device NODE_F411RE. You should
see the communications LED on the Nucleo board flashing red and green as the upload
process continues. Wait until uploading is complete when the communications LED is
steady green color.
• You should now see the program working and the user LED flashing at 2s intervals
Note that you can export the program (or the main.cpp file) by right clicking on the pro-
gram in the Program Workspace.
We can now look at this simple program in some detail. The comment lines at the begin-
ning of the program starts with characters /* and end with */. The header file mbed.h must
be included at the beginning of all our programs so that the various statements used in the
program can be recognized by the compiler.
The statement DigitalOut name(pin) configures the specified pin with the specified name
as an output. For example, DigitalOut myled(LED1) specifies LED1 to be a digital output
with the name myled. Inside the main program an infinite loop is created using the while
statement. Inside this loop the user led is turned ON and OFF by sending 1 and 0 to the
LED, respectively. The wait(2.0) statement is used to create 2s of delay between each output.
7.4.6 Other Useful Mbed Functions
Some other related useful Mbed functions are given in the following:
Function Description Example
wait wait in seconds (floating point) wait (2.5)
wait_ms wait in milliseconds (integer) wait_ms (10)
wait_us wait in microseconds (integer) wait_us (100)
DigitalOut configure specified pin as digital output DigitalOut myled(LED1)
DigitalOut Configure Port PA_5 as digital output DigitalOut myled(PA_5)