
Page 105 - ARM Based Microcontroller Projects Using MBED
P. 105
7.6 PROJECT 3—FLASHING AN EXTERNAL LED 91
FIG. 7.21 Circuit diagram of the project.
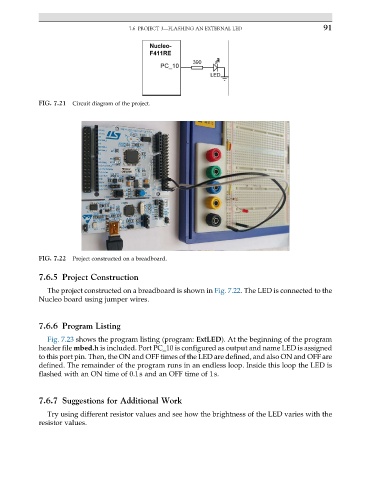
FIG. 7.22 Project constructed on a breadboard.
7.6.5 Project Construction
The project constructed on a breadboard is shown in Fig. 7.22. The LED is connected to the
Nucleo board using jumper wires.
7.6.6 Program Listing
Fig. 7.23 shows the program listing (program: ExtLED). At the beginning of the program
header file mbed.h is included. Port PC_10 is configured as output and name LED is assigned
to this port pin. Then, the ON and OFF times of the LED are defined, and also ON and OFF are
defined. The remainder of the program runs in an endless loop. Inside this loop the LED is
flashed with an ON time of 0.1s and an OFF time of 1s.
7.6.7 Suggestions for Additional Work
Try using different resistor values and see how the brightness of the LED varies with the
resistor values.