
Page 223 - Amphibionics : Build Your Own Biologically Inspired Robot
P. 223
Amphibionics 06 3/24/03 9:02 AM Page 202
Amphibionics
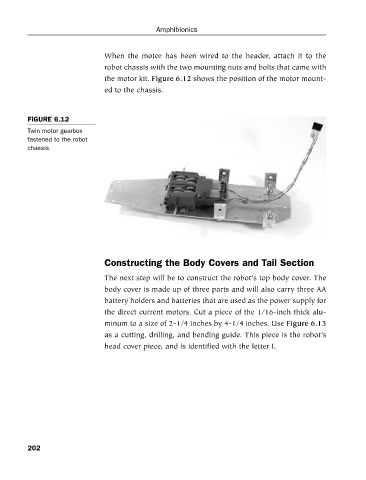
When the motor has been wired to the header, attach it to the
robot chassis with the two mounting nuts and bolts that came with
the motor kit. Figure 6.12 shows the position of the motor mount-
ed to the chassis.
FIGURE 6.12
Twin motor gearbox
fastened to the robot
chassis.
Constructing the Body Covers and Tail Section
The next step will be to construct the robot’s top body cover. The
body cover is made up of three parts and will also carry three AA
battery holders and batteries that are used as the power supply for
the direct current motors. Cut a piece of the 1/16-inch thick alu-
minum to a size of 2-1/4 inches by 4-1/4 inches. Use Figure 6.13
as a cutting, drilling, and bending guide. This piece is the robot’s
head cover piece, and is identified with the letter I.
202