
Page 124 - Build a Remote Controlled Robot
P. 124
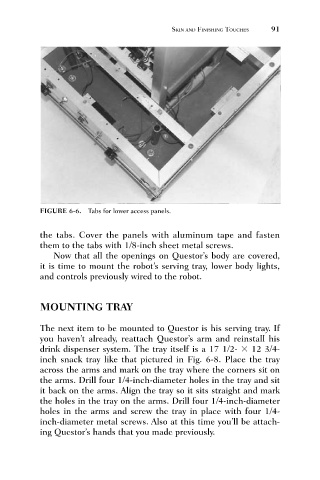
FIGURE 6-6. Tabs for lower access panels.  SKIN AND FINISHING TOUCHES  91


                              the tabs. Cover the panels with aluminum tape and fasten
                              them to the tabs with 1/8-inch sheet metal screws.
                                 Now that all the openings on Questor’s body are covered,
                              it is time to mount the robot’s serving tray, lower body lights,
                              and controls previously wired to the robot.


                              MOUNTING TRAY


                              The next item to be mounted to Questor is his serving tray. If
                              you haven’t already, reattach Questor’s arm and reinstall his
                              drink dispenser system. The tray itself is a 17 1/2-   12 3/4-
                              inch snack tray like that pictured in Fig. 6-8. Place the tray
                              across the arms and mark on the tray where the corners sit on
                              the arms. Drill four 1/4-inch-diameter holes in the tray and sit
                              it back on the arms. Align the tray so it sits straight and mark
                              the holes in the tray on the arms. Drill four 1/4-inch-diameter
                              holes in the arms and screw the tray in place with four 1/4-
                              inch-diameter metal screws. Also at this time you’ll be attach-
                              ing Questor’s hands that you made previously.