
Page 125 - Enhancing CAD Drawings with Photoshop
P. 125
4386.book Page 108 Monday, November 15, 2004 3:27 PM
108 CHAPTER 4 YOU AND YOUR ENTOURAGE
9. If you erase too much, you can rely on History to correct your mistake. Select the History Brush,
and paint in any parts of the figure that you overzealously erased in the previous step. On the
Options bar, set the History Brush tool to Mode Color, Opacity to 100%, and Flow to 50%.
NOTE You can paint back in the erased figure because the source for the History Brush is set on the
Open state by default. This means you can paint the original pixels back in at any time using the His-
tory Brush.
At this point you have successfully extracted the figure against a black backdrop. Check your
work against a white backdrop to reveal any dark artifacts that might be present.
10. In the Layers palette, click the Backdrop layer. Press D to set the default colors, and then press
Ctrl+Backspace to fill the layer with white.
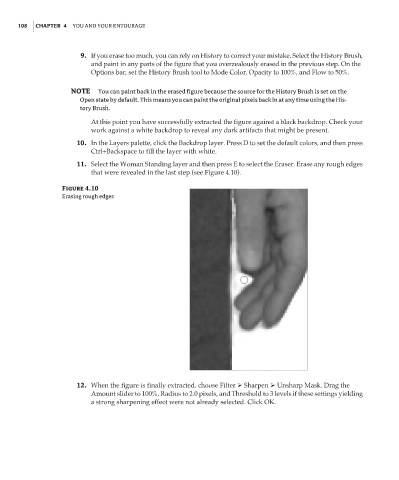
11. Select the Woman Standing layer and then press E to select the Eraser. Erase any rough edges
that were revealed in the last step (see Figure 4.10).
Figure 4.10
Erasing rough edges
12. When the figure is finally extracted, choose Filter Sharpen Unsharp Mask. Drag the
Amount slider to 100%, Radius to 2.0 pixels, and Threshold to 3 levels if these settings yielding
a strong sharpening effect were not already selected. Click OK.