
Page 182 - Enhancing CAD Drawings with Photoshop
P. 182
4386.book Page 166 Monday, November 15, 2004 3:27 PM
166 CHAPTER 5 PRESENTING PLANS
3. Select the CeramicTile pattern in the Pattern Fill dialog box. Change the Scale slider to 30% and
click OK.
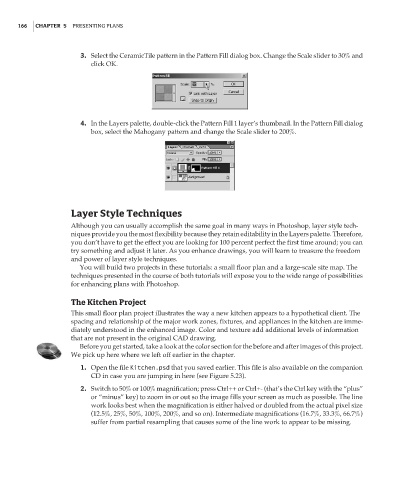
4. In the Layers palette, double-click the Pattern Fill 1 layer’s thumbnail. In the Pattern Fill dialog
box, select the Mahogany pattern and change the Scale slider to 200%.
Layer Style Techniques
Although you can usually accomplish the same goal in many ways in Photoshop, layer style tech-
niques provide you the most flexibility because they retain editability in the Layers palette. Therefore,
you don’t have to get the effect you are looking for 100 percent perfect the first time around; you can
try something and adjust it later. As you enhance drawings, you will learn to treasure the freedom
and power of layer style techniques.
You will build two projects in these tutorials: a small floor plan and a large-scale site map. The
techniques presented in the course of both tutorials will expose you to the wide range of possibilities
for enhancing plans with Photoshop.
The Kitchen Project
This small floor plan project illustrates the way a new kitchen appears to a hypothetical client. The
spacing and relationship of the major work zones, fixtures, and appliances in the kitchen are imme-
diately understood in the enhanced image. Color and texture add additional levels of information
that are not present in the original CAD drawing.
Before you get started, take a look at the color section for the before and after images of this project.
We pick up here where we left off earlier in the chapter.
1. Open the file Kitchen.psd that you saved earlier. This file is also available on the companion
CD in case you are jumping in here (see Figure 5.23).
2. Switch to 50% or 100% magnification; press Ctrl++ or Ctrl+- (that’s the Ctrl key with the “plus”
or “minus” key) to zoom in or out so the image fills your screen as much as possible. The line
work looks best when the magnification is either halved or doubled from the actual pixel size
(12.5%, 25%, 50%, 100%, 200%, and so on). Intermediate magnifications (16.7%, 33.3%, 66.7%)
suffer from partial resampling that causes some of the line work to appear to be missing.