
Page 203 - Enhancing CAD Drawings with Photoshop
P. 203
4386.book Page 187 Monday, November 15, 2004 3:27 PM
LAYING OUT PLANS ON A SHEET 187
Figure 5.55
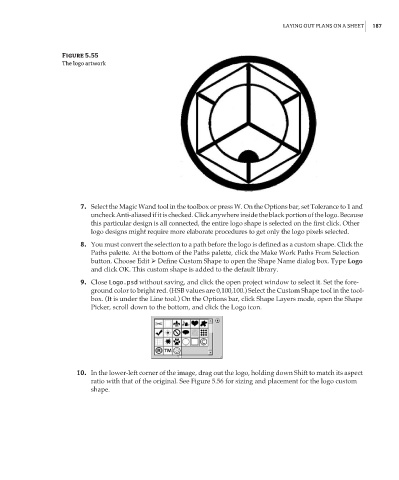
The logo artwork
7. Select the Magic Wand tool in the toolbox or press W. On the Options bar, set Tolerance to 1 and
uncheck Anti-aliased if it is checked. Click anywhere inside the black portion of the logo. Because
this particular design is all connected, the entire logo shape is selected on the first click. Other
logo designs might require more elaborate procedures to get only the logo pixels selected.
8. You must convert the selection to a path before the logo is defined as a custom shape. Click the
Paths palette. At the bottom of the Paths palette, click the Make Work Paths From Selection
button. Choose Edit Define Custom Shape to open the Shape Name dialog box. Type Logo
and click OK. This custom shape is added to the default library.
9. Close Logo.psd without saving, and click the open project window to select it. Set the fore-
ground color to bright red. (HSB values are 0,100,100.) Select the Custom Shape tool in the tool-
box. (It is under the Line tool.) On the Options bar, click Shape Layers mode, open the Shape
Picker, scroll down to the bottom, and click the Logo icon.
10. In the lower-left corner of the image, drag out the logo, holding down Shift to match its aspect
ratio with that of the original. See Figure 5.56 for sizing and placement for the logo custom
shape.