
Page 200 - Enhancing CAD Drawings with Photoshop
P. 200
4386.book Page 184 Monday, November 15, 2004 3:27 PM
184 CHAPTER 5 PRESENTING PLANS
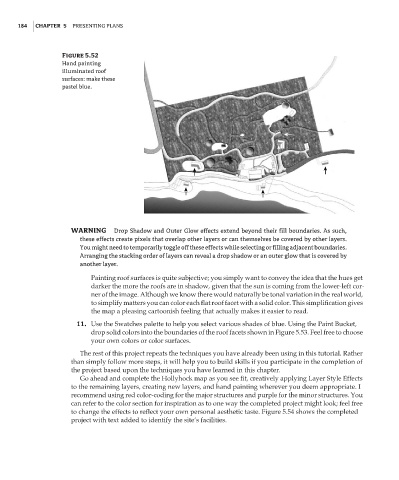
Figure 5.52
Hand painting
illuminated roof
surfaces: make these
pastel blue.
WARNING Drop Shadow and Outer Glow effects extend beyond their fill boundaries. As such,
these effects create pixels that overlap other layers or can themselves be covered by other layers.
You might need to temporarily toggle off these effects while selecting or filling adjacent boundaries.
Arranging the stacking order of layers can reveal a drop shadow or an outer glow that is covered by
another layer.
Painting roof surfaces is quite subjective; you simply want to convey the idea that the hues get
darker the more the roofs are in shadow, given that the sun is coming from the lower-left cor-
ner of the image. Although we know there would naturally be tonal variation in the real world,
to simplify matters you can color each flat roof facet with a solid color. This simplification gives
the map a pleasing cartoonish feeling that actually makes it easier to read.
11. Use the Swatches palette to help you select various shades of blue. Using the Paint Bucket,
drop solid colors into the boundaries of the roof facets shown in Figure 5.53. Feel free to choose
your own colors or color surfaces.
The rest of this project repeats the techniques you have already been using in this tutorial. Rather
than simply follow more steps, it will help you to build skills if you participate in the completion of
the project based upon the techniques you have learned in this chapter.
Go ahead and complete the Hollyhock map as you see fit, creatively applying Layer Style Effects
to the remaining layers, creating new layers, and hand painting wherever you deem appropriate. I
recommend using red color-coding for the major structures and purple for the minor structures. You
can refer to the color section for inspiration as to one way the completed project might look; feel free
to change the effects to reflect your own personal aesthetic taste. Figure 5.54 shows the completed
project with text added to identify the site’s facilities.