
Page 196 - Enhancing CAD Drawings with Photoshop
P. 196
4386.book Page 180 Monday, November 15, 2004 3:27 PM
180 CHAPTER 5 PRESENTING PLANS
2. Select the Hollyhock-Waterline layer and toggle it on and off to see where it is in the image
(lower edge). Using the Paint Bucket, fill the ocean with black. To the Hollyhock-Waterline
layer, apply the following Layer Style Effects:
Pattern Overlay Use the Rough pattern from the Patterns 2 library at 100% scale.
Gradient Overlay Use the linear black-to-white gradient at an angle of 87° and a scale of 150%.
Change Opacity to 70%, and set the Blend mode to Overlay.
Color Overlay Select a light blue-green hue with HSB values of 180,50,65. Change the Blend
mode to Overlay.
Bevel and Emboss Use smooth inner bevel directed down with 40% depth, 9 px size, and 16 px
soften.
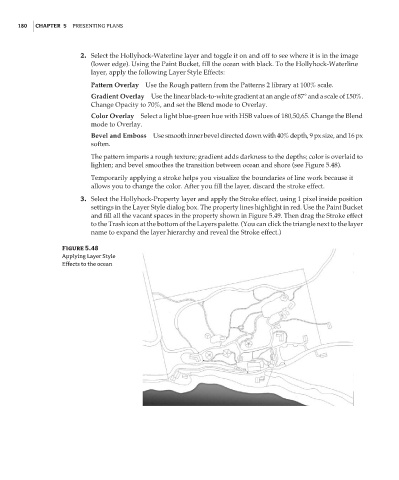
The pattern imparts a rough texture; gradient adds darkness to the depths; color is overlaid to
lighten; and bevel smoothes the transition between ocean and shore (see Figure 5.48).
Temporarily applying a stroke helps you visualize the boundaries of line work because it
allows you to change the color. After you fill the layer, discard the stroke effect.
3. Select the Hollyhock-Property layer and apply the Stroke effect, using 1 pixel inside position
settings in the Layer Style dialog box. The property lines highlight in red. Use the Paint Bucket
and fill all the vacant spaces in the property shown in Figure 5.49. Then drag the Stroke effect
to the Trash icon at the bottom of the Layers palette. (You can click the triangle next to the layer
name to expand the layer hierarchy and reveal the Stroke effect.)
Figure 5.48
Applying Layer Style
Effects to the ocean